Yikes, that is a big word in the title of this post and if it has you confused, a Icosahedron is a 20 sided geometric solid. Nothing too confusing about that!
They are super easy to make and look great as decorative accents.
You will need.
- My free icosahedron template
- Card stock
- Craft knife
- Double sided tape
- Pens or paint to decorate
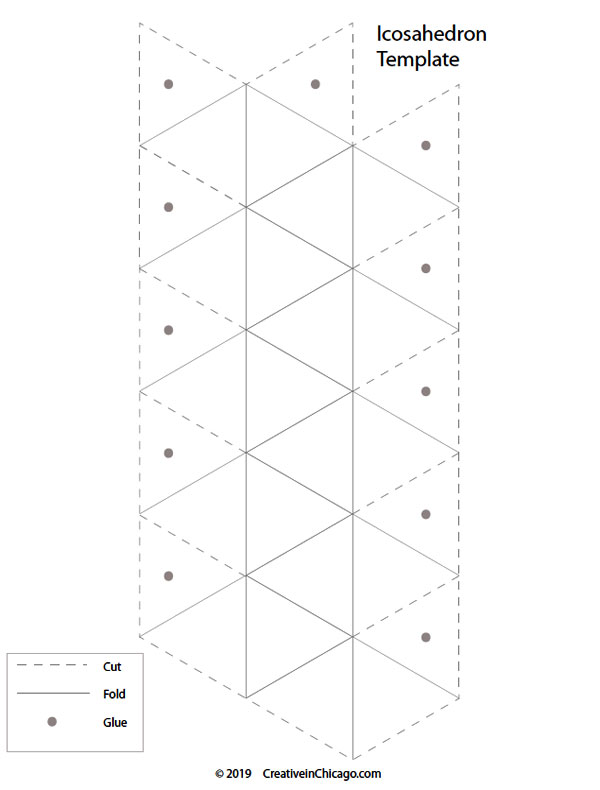
Icosahedron template 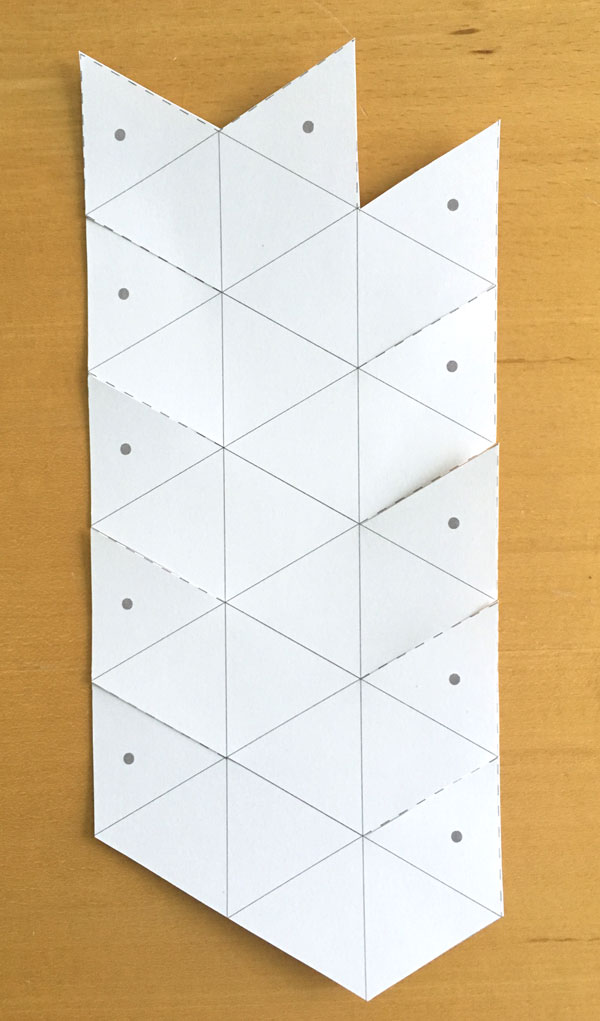
Cut along dashed lines 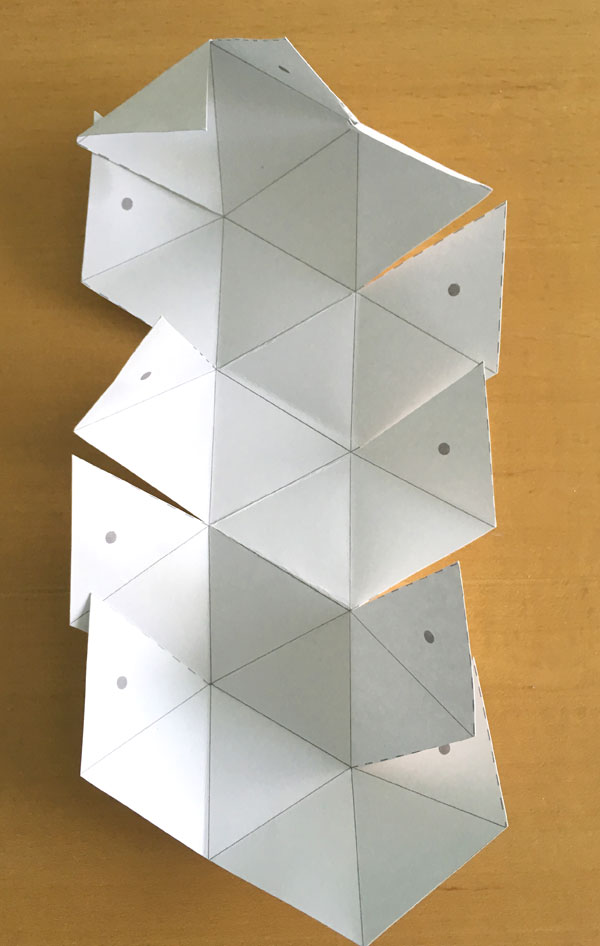
Score & fold along solid lines 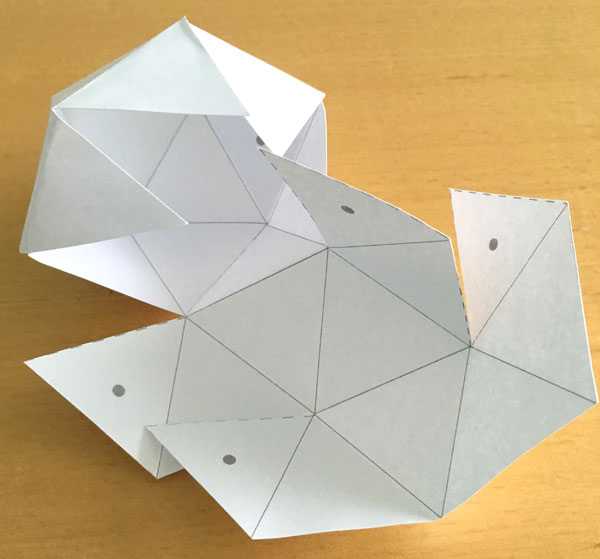
Use double sided tape to stick together 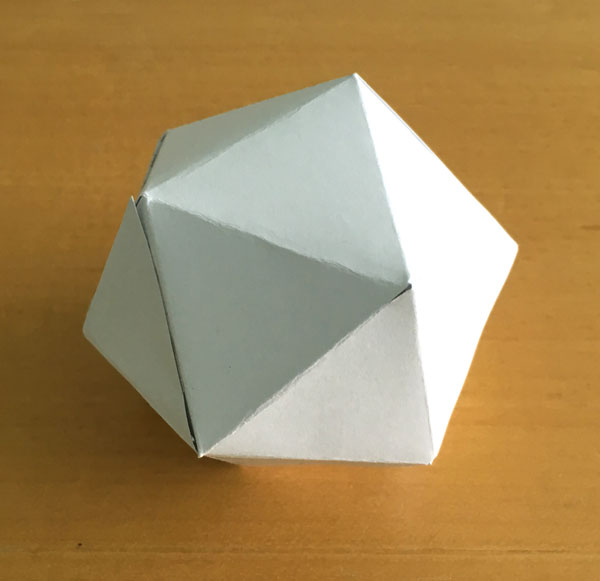
Final Icosahedron
Then the fun really starts, time to decorate.
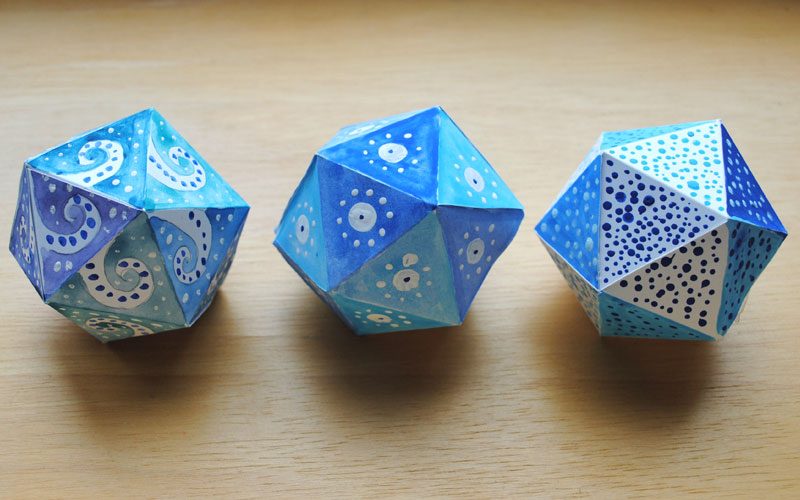
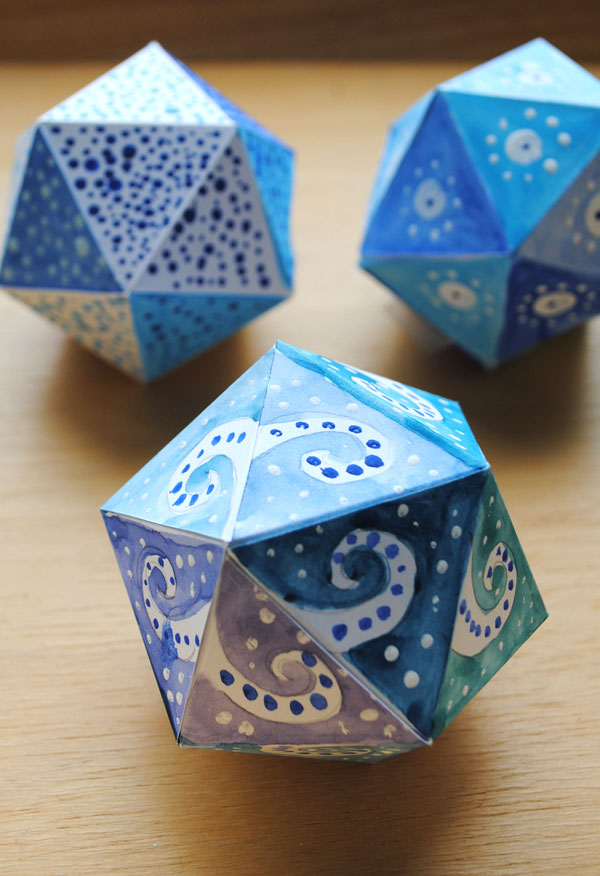
I took two approaches to decorating. Firstly painting once the icosaheron was constructed. The second approach was a lot easier – painting the back of the template once it was cut and scored but before it was folded
I made little ones which were printed on card stock and decorated using watercolor and acrylic paints. Not surprises when it come to my color choices!
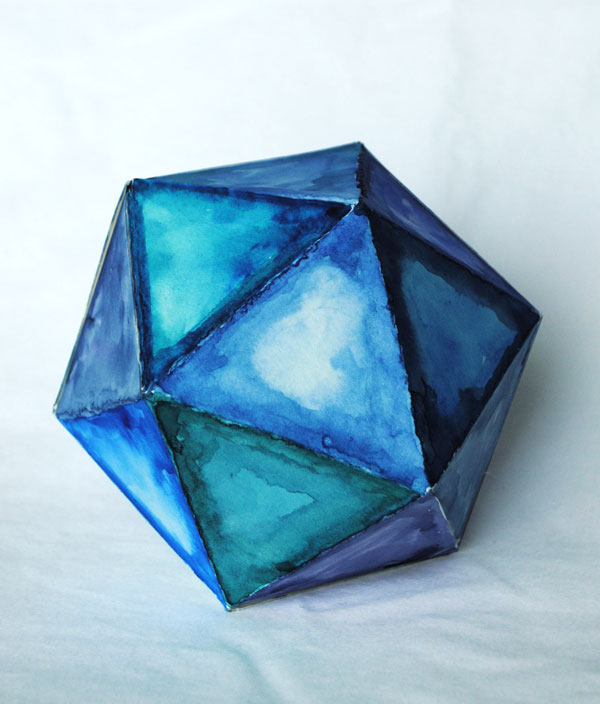
And a bigger one which was made using watercolor paper
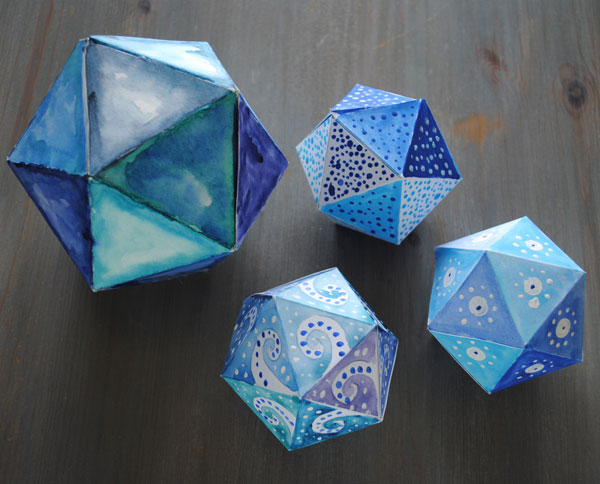
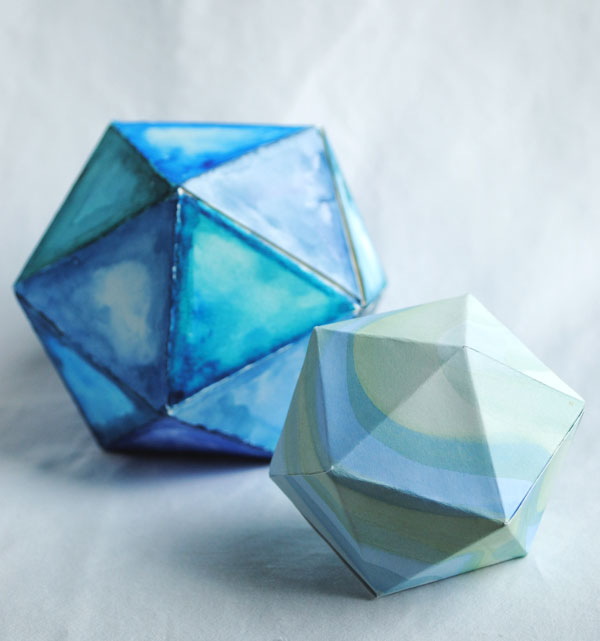
They look fabulous just jumbled up on a plain wooden tray but would look equally great in a large glass jar. A free decorative accent!
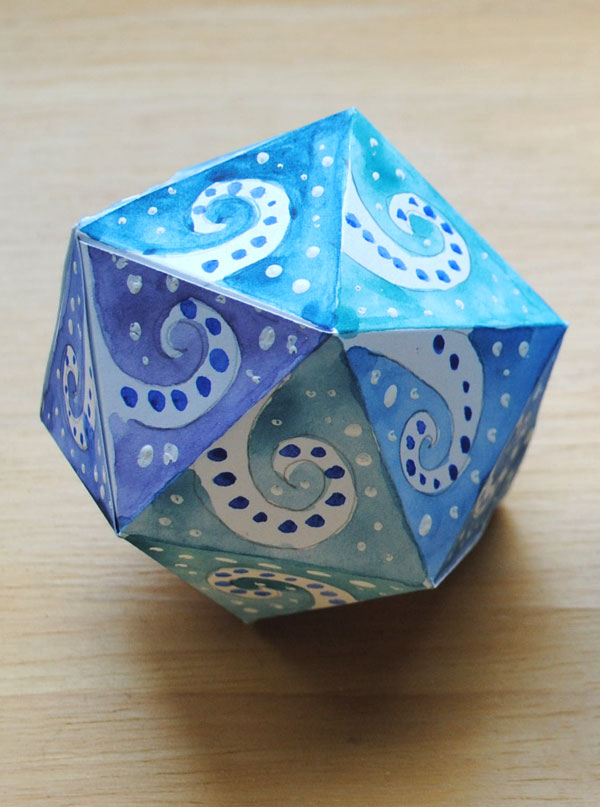
Enjoy!
Love from
Creative in Chicago
XX


These are beautiful!!! Thanks for sharing! Definitely going to make this with Jr. High.
Great…send me a photo of your efforts!
I’ve downloaded the template & Copied it but I can’t seem to print the other pages, can you help.
Hi Angi,
The only thing you need to print for the project is the template
https://vco.lkt.temporary.site/wp-content/uploads/2019/05/Icosahedron-template-creative-in-chicago.pdf
It is a pdf so you will need to have Adobe reader installed.
Hope that helps!
Hi Angi,
The only thing you need to print is the template.
https://vco.lkt.temporary.site/wp-content/uploads/2019/05/Icosahedron-template-creative-in-chicago.pdf
It is a pdf so you will need to have Adobe Reader installed to print it.
Hope that helps!
well if you have word or google docs you can copy the image to it
https://vco.lkt.temporary.site does this work?
yes
These are so pretty! Would you please give instructions on how to actually fold it? I have it all cut, & ready.
I love these, they’re so pretty the way you’ve painted them. After printing, cutting, and scoring for folding, how do I put it together??. Thanks!
Hi, if you look at the template there are triangles with little dots on them. These triangles are the tabs that that get folded inwards and stick to the underside of an unmarked adjacent traingle. Sounds confusing but as soon as you have one stuck down the shape sort of puts itself together!
SO glad you posted that cuz I was just at the folding stage going —uhhhhhh now what?? So I had set it aside. Maybe a little more words than just of “glue” would help some us less coordinated folks!
Off to give it go right now!
Well, maybe even more explanation would help – I figured it out, but I’m going to have to practice a lot before I can teach 3-5th graders how to do it. Going to enlarge it and put it on card stock and see if that makes it any easier.
Thanks for the template was a fun quick thing to make 🙂
Some tips on how to get that last triangle in and glued would be a help I’ve got it all stuck together but wondered if there was an easier way.
Double sided tape is a god send!
They are lovely!! Thank you for sharing.
Thank you for sharing such a neat project.
Is anyone here still alive? I need help!
If you cut on dotted lines and score the solid lines the shape sort of puts itself together!
Help. I can’t figure out how to get a cube. I got some 3D snake looking thing once I glued them together. I need more of an explanation.
Update: I’ve almost got it, but I now can’t figure out how to close it. Please help. I thought this would be an easy template for my students, but I can’t figure it out.
Once it is cut and scores the shape sort of makes itself. The triangles with back circles get glued down
so pretty how you painted yours!these instructions look easy to follow and fun as well. thank-you for taking the time to share