If you are anything like me, it is impossible to return home from a vacation on the beach without a big bag of sea shells.
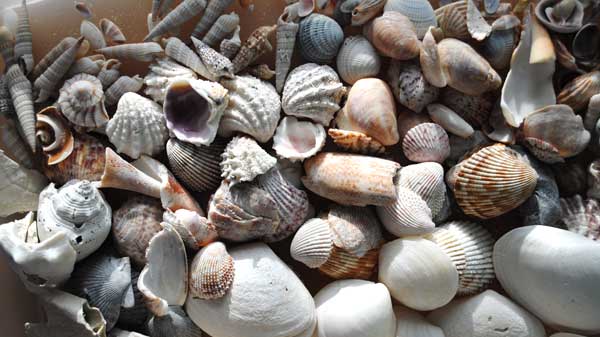
I am not one to just dump them in a cupboard, I like to create beautiful things from them and shared with you last week a post on decorating shells
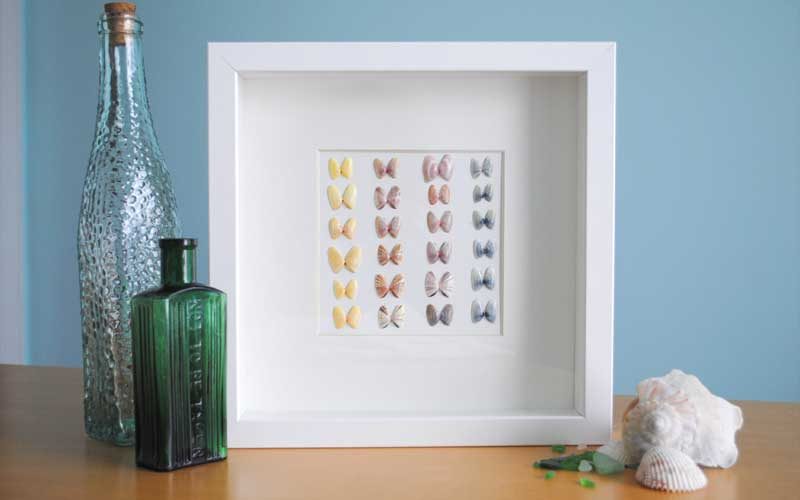
Today’s post is a tutorial on how you can turn your beachy haul into beautiful framed artwork and create a little coastal decor that will take you back to your vacation whenever you look at it.
You will need
- Shadow box frame. I used Ribba from Ikea
- Shells
- Thick white card
- Hot glue gun
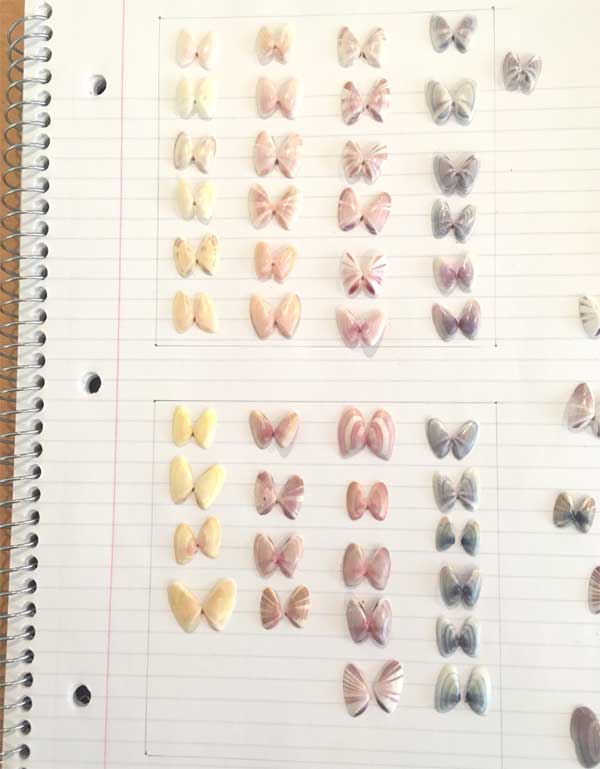
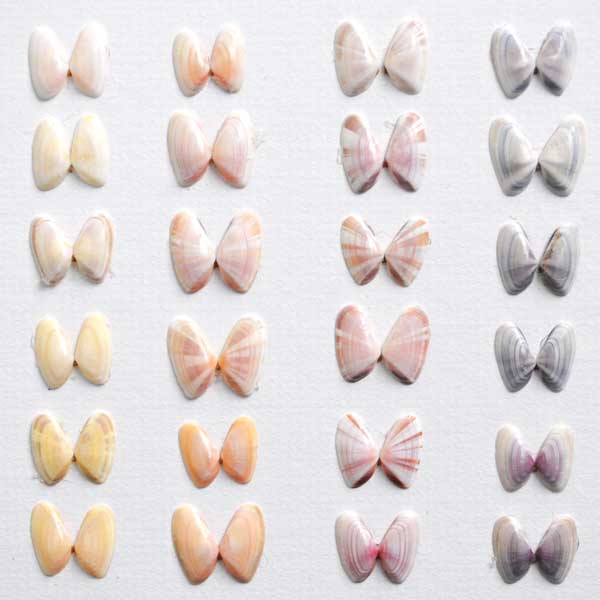
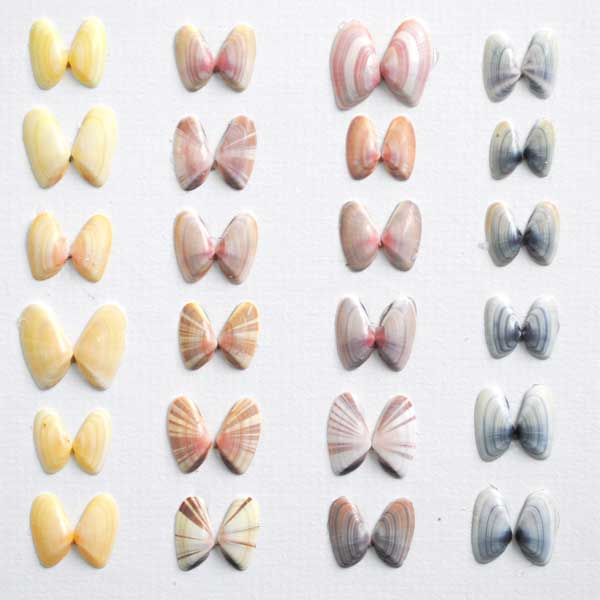
Sort through your shells and establish some sort of theme. It can be shells of all the shape or shells of the same color. I picked out tiny butterfly shaped shells that occur in all sorts of colors. My plan was to have two frames with lines of identical color but arranging the shells so there was a graduation of intensity of color. I initially organized the layout on quickly drawn squares in a notebook
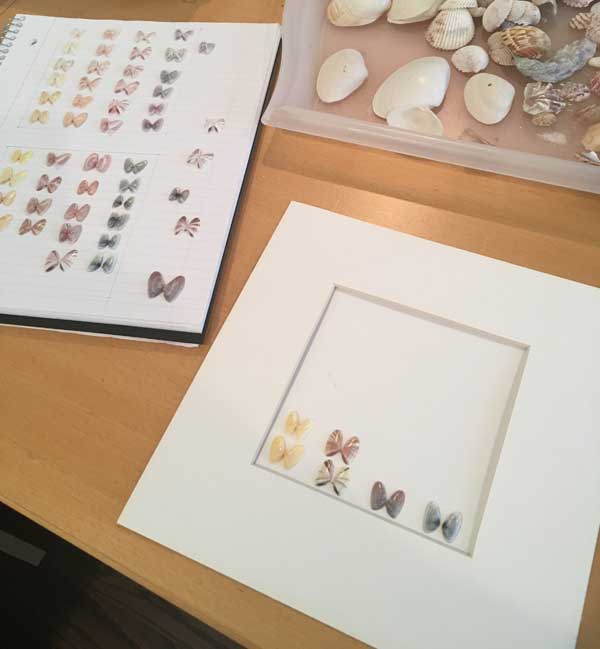
Then using my hot glue gun I carefully glued each shell onto a square of thick white card. I have to say this was quite fiddly and resulted in lots of those hot glue string. A quick snip with a pair of scissors and they were tidied up in no time though.
Then it was simply a case of taping my creations onto the matting board that came with my shadow box frames and sealing up the frame.
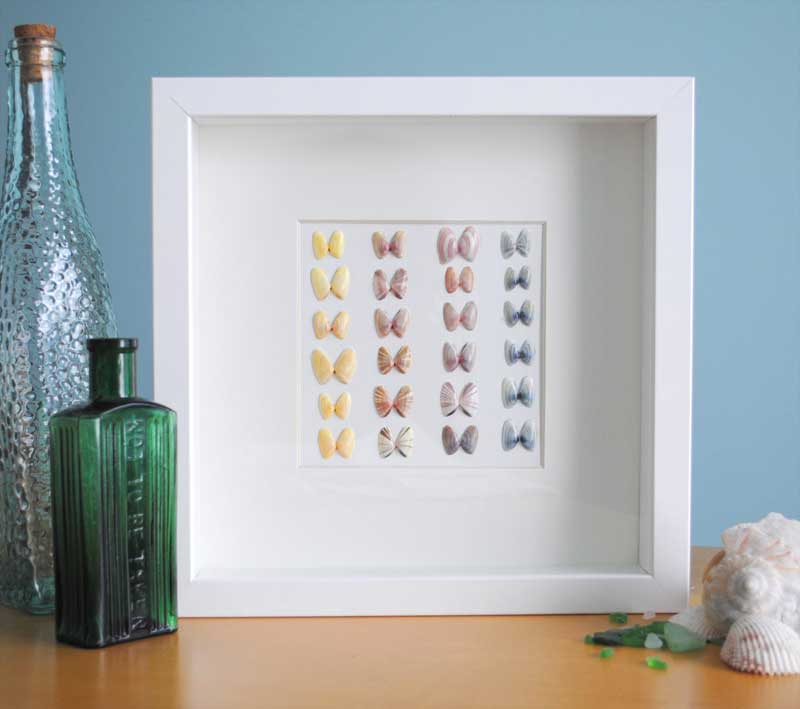
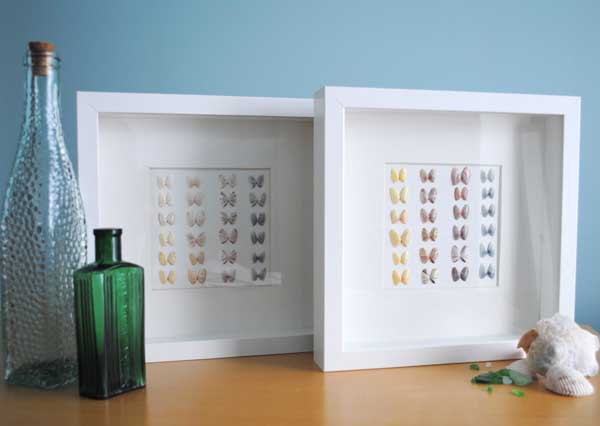
Aren’t they pretty! My plan is to hang them vertically stacked in our master bathroom but for now they are still sat on my desk.
Enjoy!
Love from
Creative in Chicago
XX

