Dear Chicago House,
Pinch, punch 1st of the month and because we have entered December it’s time to break out an advent calendar.
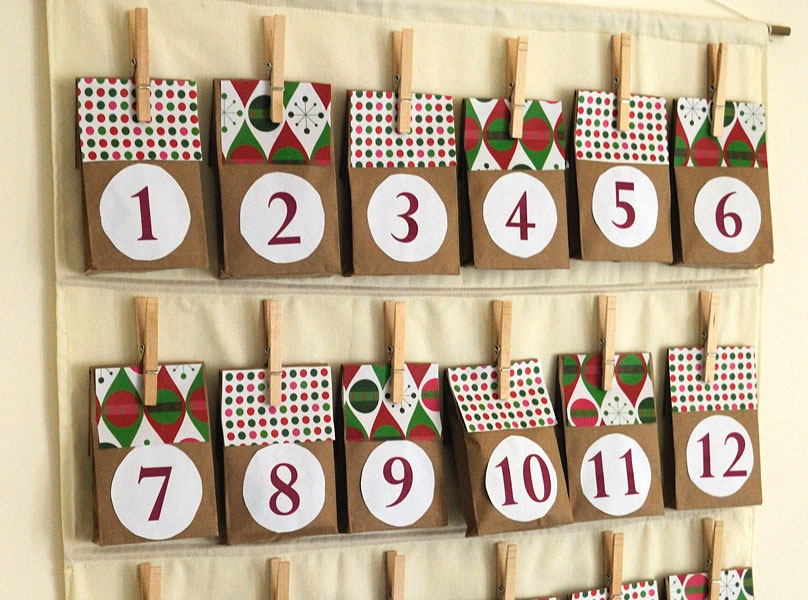
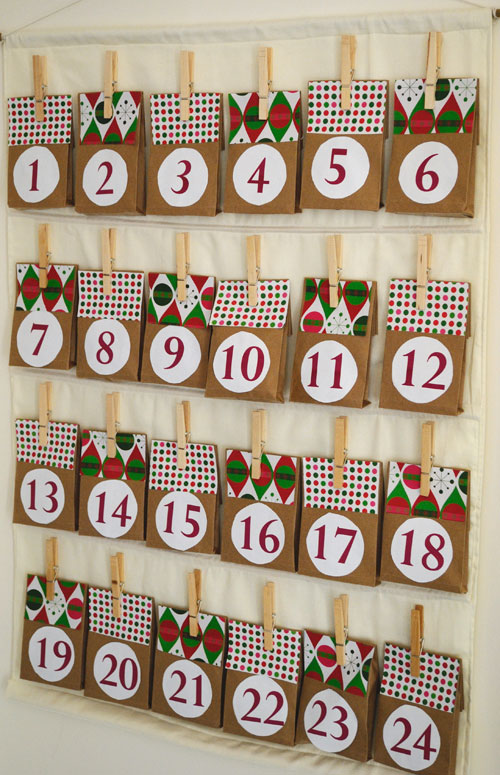
Miss Chicago teen may be 15, but she still enjoys the tradition of opening an advent calendar, so this year I decided to make her one.
This was really easy to make, if you forgot to get your kids one this year, you could knock this out in about an hour and redeem yourself by stocking it with extra special goodies.
How to make an Advent Calendar
You will need
- Brown paper to make bags(or if you prefer you can use brown lunch sacks)
- Festive paper ( wrapping paper or scrap book paper)
- Wooden clothes pegs ( or as they are know in the US clothes pins)
- Piece of fabric 30″ x 40″(70cm x 100 cm)
- Wooden rod – I used a piece of garden bamboo
- String
- Goodies to fill the bags
- Hot glue gun
- tape
- Sewing machine
- Start by making the bags. I used this tutorial
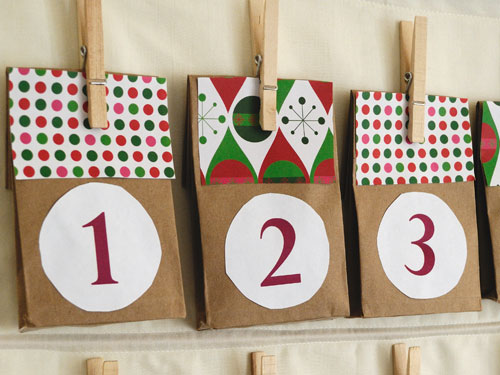
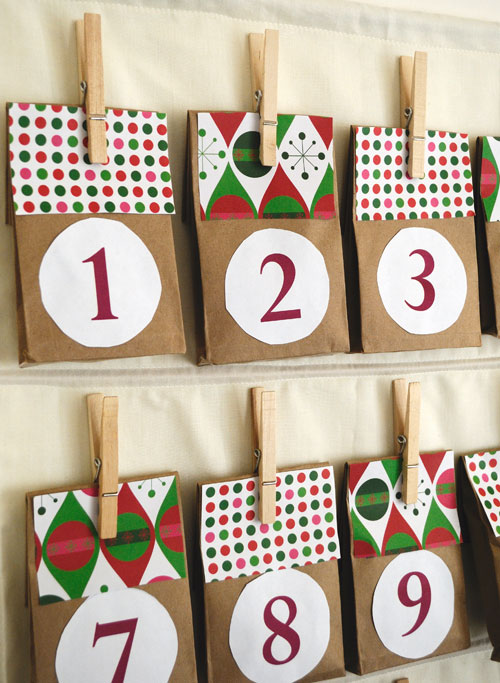
- Fold the top third of the bags and decorate with a strip of festive paper. I used two coordinating designs of scrap book paper but Christmas wrapping paper would work well too.
- Select a nice typeface and use something like WORD to print out numbers to decorate your bags.
- Fill the bags with goodies and secure closed with a peg
- Hem around your fabric. Fold a few inches along the top edge and sew to make a long pocket for the wooden rod. Thread the rod into the pocket and attach string either end so you can easily hang.
- Arrange your goodie bags, I had 4 lines of 6. Once you are happy with the alignment hot glue the wood pegs to the fabric.
- Hang and let your kids enjoy!
Love from
Creative in Chicago
XX


One thought on “Easy DIY Advent Calendar”