Dear Chicago House,
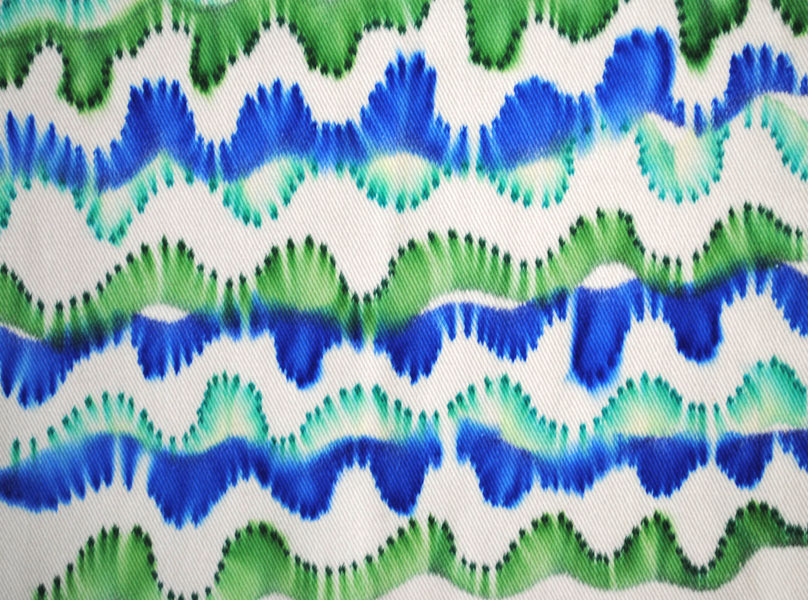
Who knew this little post on custom fabric creation would get so much interest. I shared only one technique for creating your own stunning fabric but I am here today for another lesson.
Design your own fabric with Sharpies
You will need
- Sharpies
- Fine paint brush
- Rubbing alcohol
- Cotton fabric
- Color fixer (optional)
Lay your fabric out on some cardboard and create a design based on pairs of lines. you can use solid or dotted lines like my example below.
Take your paint brush and apply a liberal amount of alcohol between each set of lines as illustrated by the red below.
The liquid will spread outwards leaving a clear strip between the line pairs
What fun!
And here are some examples.
This one I used different colored dots on some of the lines
And this one I created with solid lines
A reader shared a tip for getting the color to stay put. After the alcohol has dried, iron the fabric then treat it with a color fixer – she recommended a product called retayne – you can buy it on amazon here .
Enjoy!
Love from
Creative in Chicago
XX


Great idea, I’m always looking for fun fabric so I’m excited to try this!
Does this technique wash out? Do you have to do something to set the colors? Looks great!
I have done this as a craft with my grandkiddos on tee shirts. I heat set with an iron as soon as the alcohol was dry and then treated it with a product called retayne(bought this at amazon). Then if you always wash in cold water it holds pretty good. I experimented with several different techniques and this one seems to work the best.
That is fantastic…I am going to add this to the instructions. Thanks for sharing!
This is my favourite example of Sharpie fabric art. I’m looking to paint a man’s cotton shirt to use as a casual jacket.
I’d love to see it when you have finished Claudette